
It is important to note that clients must have access to an online portal account with your clinic in order to use the Video Therapy feature and connect to scheduled video sessions, or they need to be sent a direct link to their session.
When you schedule a video session for a client, they will receive an email confirmation with details about the session and link to the Client Portal:
Client Directed Signup
Selecting the link in the email will take the client to your clinic's secure Client Portal site where they will be prompted to login to their account, or create an account if they do not yet have one.
If you want to allow anyone to create their own account, they can do so by visiting your Client Portal URL through your website. To allow this option, please ensure you have set Allow clients to create account to Yes in your the Client Portal section under Settings.
In order to complete their set up, they must:
- Create an account
- Verify their email address
To create the account, the client clicks on Create Account. Once an account is created, they will need to verify their email address with us. This is a simple email sent to their inbox with a link to the verification screen. If your clients are unable to find their verification email, you are able to verify for them under Clients > Prospects.
Once your client has created an account, you will need to associate them to tie them to your Zencare client list. The associate step is what adds the Client Portal account in as a Zencare Practice Management client.
Viewing Scheduled Appointments
Once logged into the account, clients can go to the My Account section to see all of their scheduled appointments:

The client will see a list of all scheduled sessions under the Sessions section, and will see their next upcoming session at the top of the page. If it is a video session, the Join button will appear next to the session as active within 30 minutes of the session start time. To access the video session, the client must select the Join button.
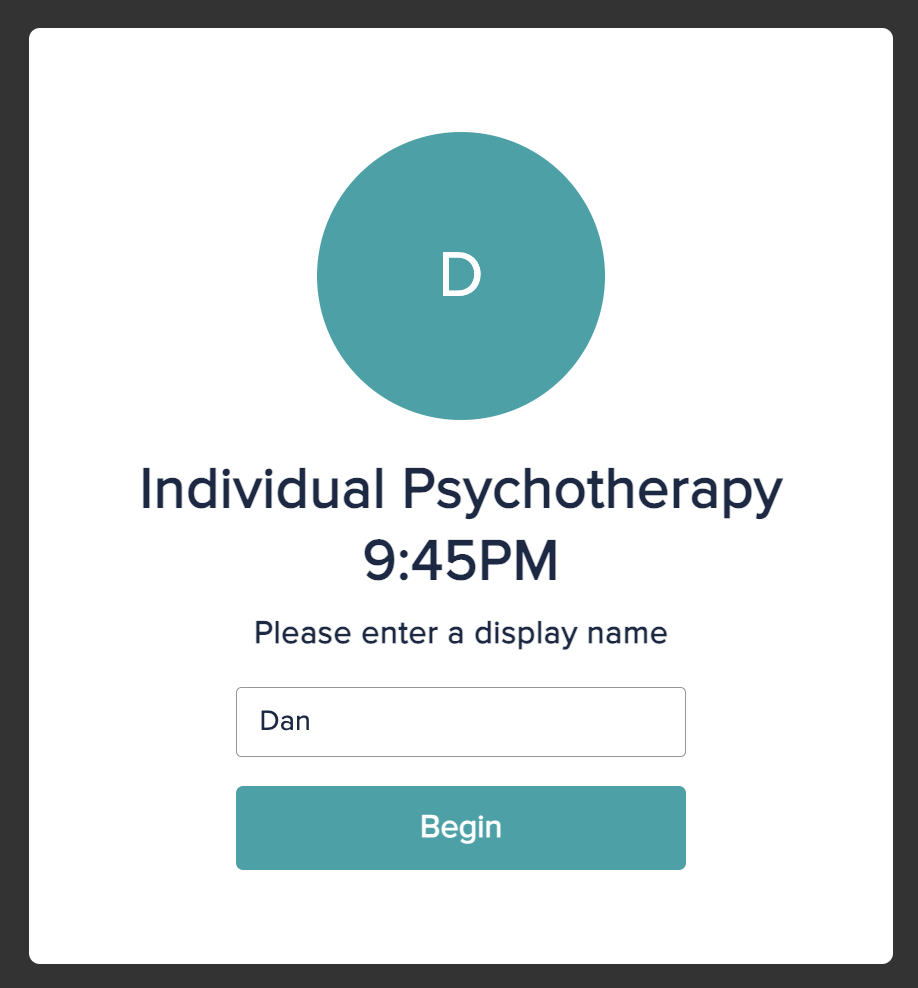
Clicking the Join button will open the secure video session in a new browser tab on your computer. Before you can enter the session, you’ll also be prompted to confirm your display name. You can then select Begin to enter the session:
If the client has not enabled their webcam, they will see a prompt to give their browser access to the camera and microphone:
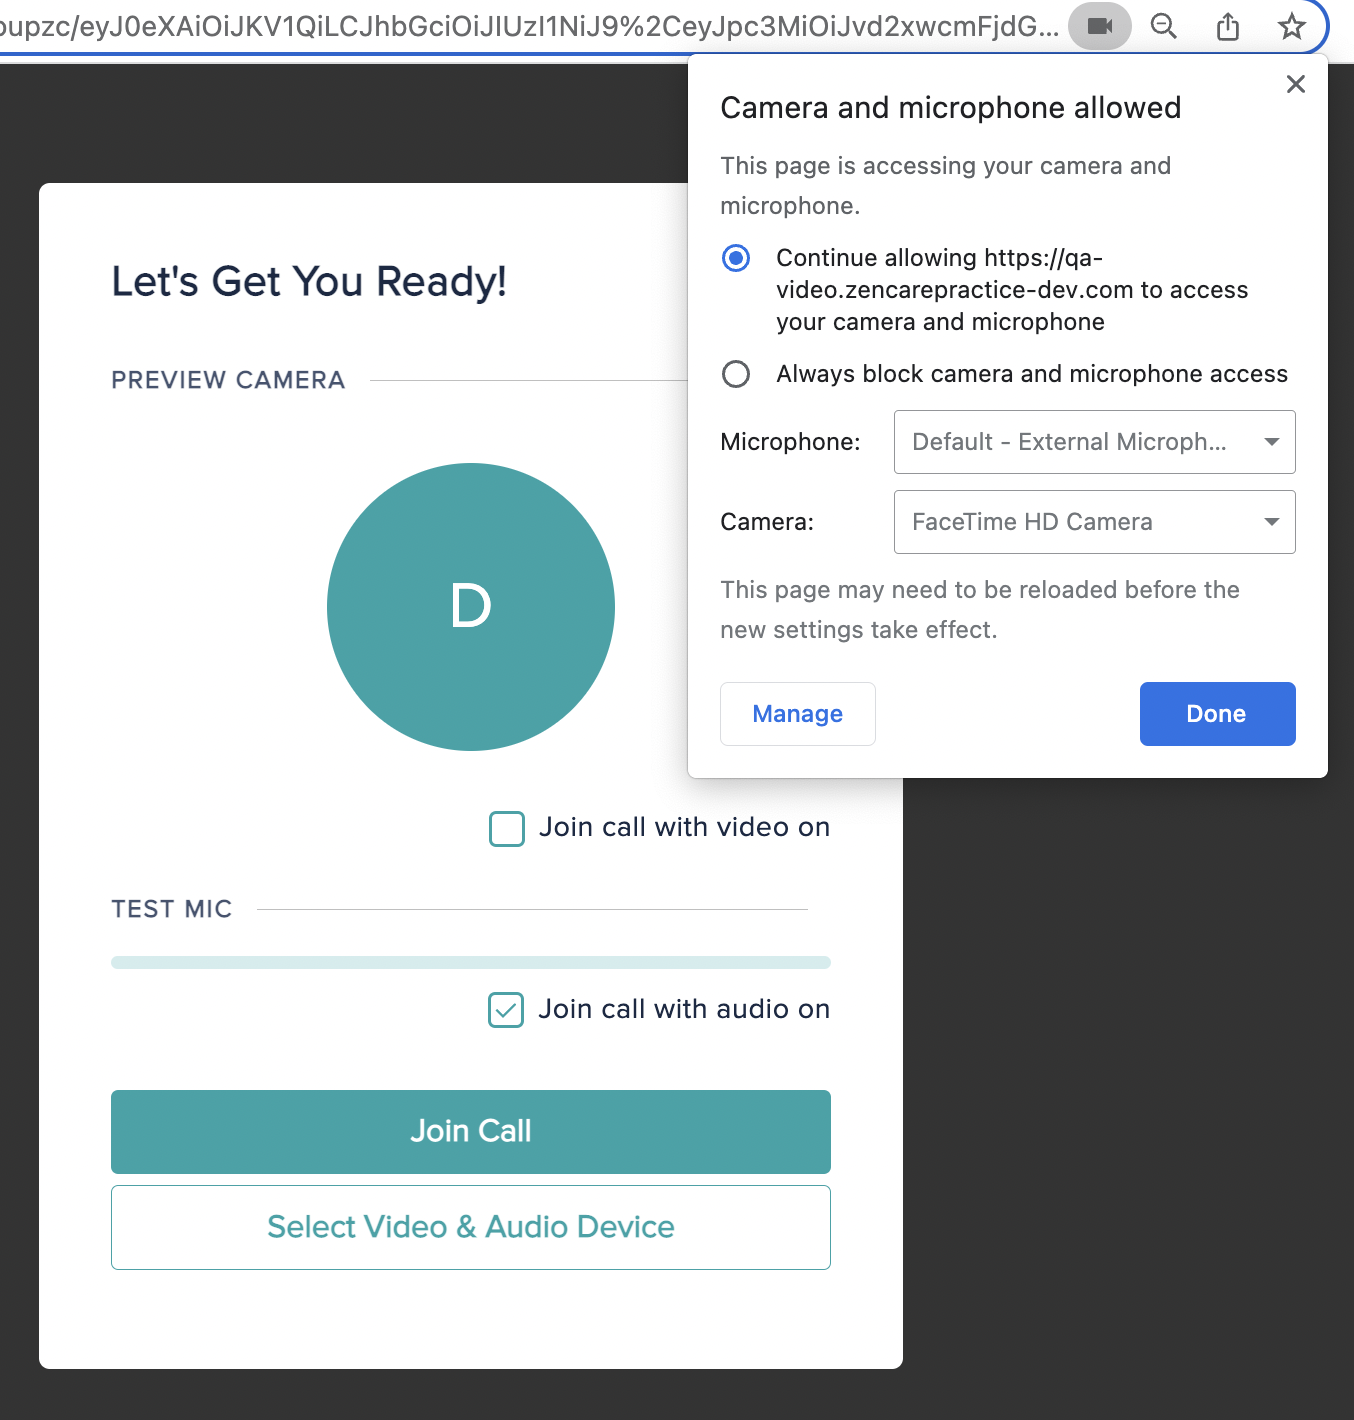
They can then preview how their camera looks and microphone sounds.
Once the client selects Accept and joins the session, they will be entered into the virtual waiting room:
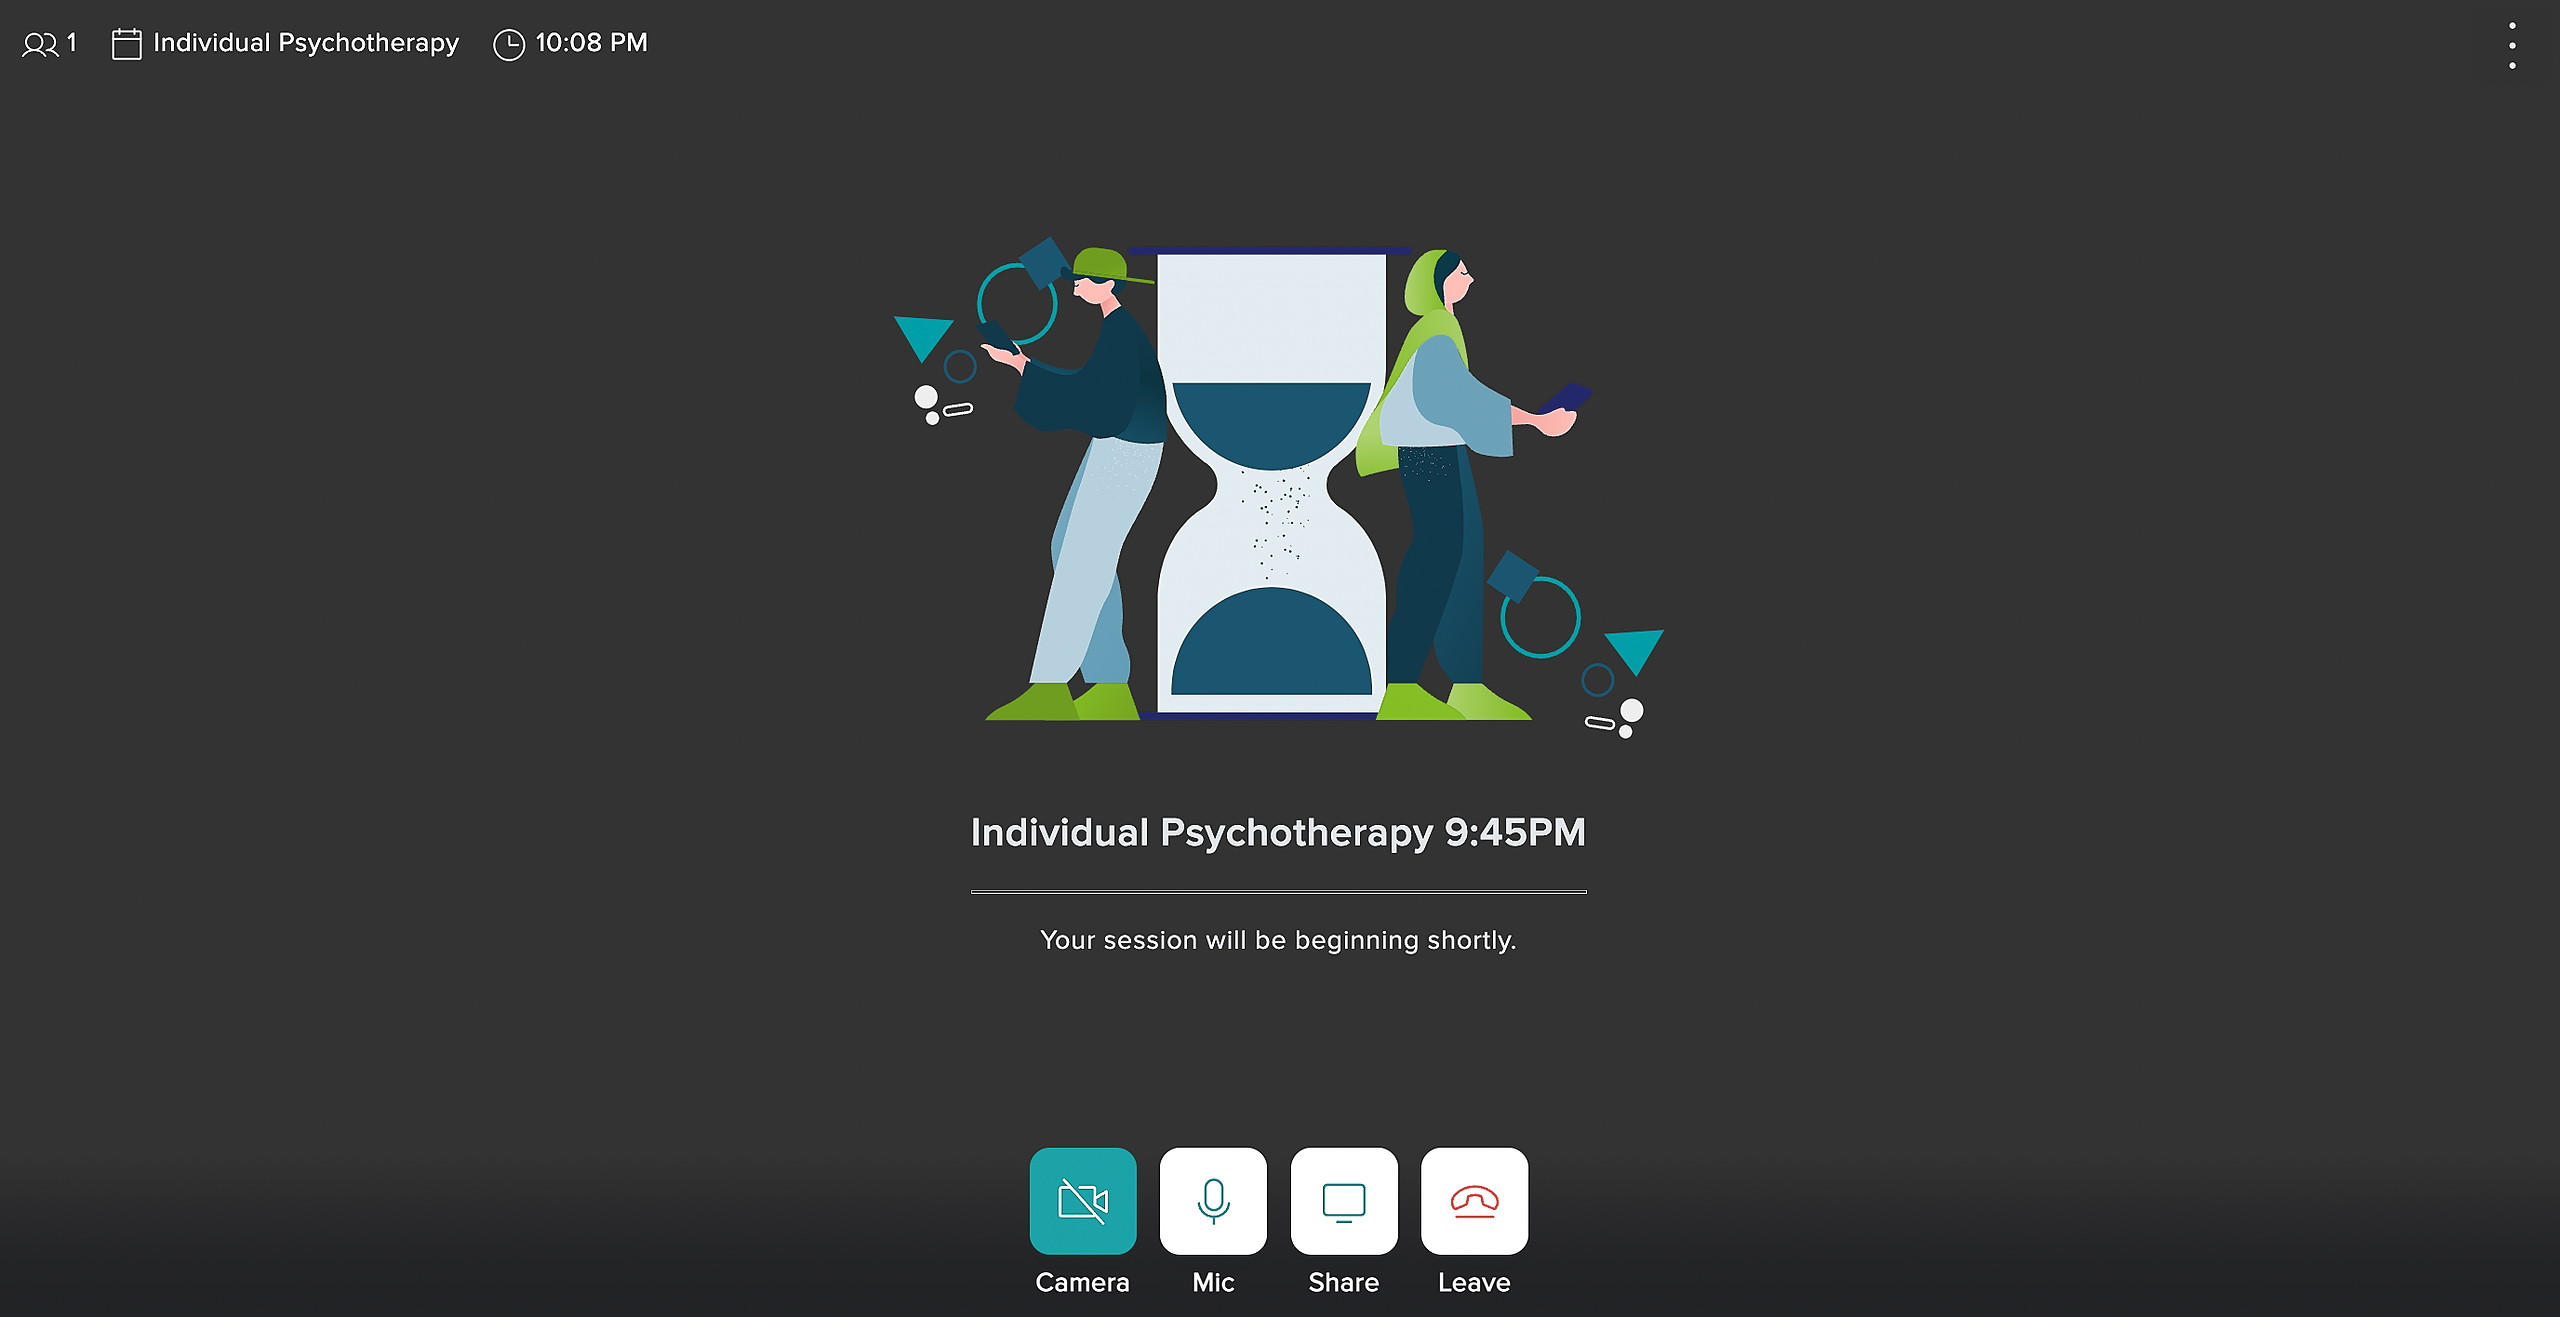
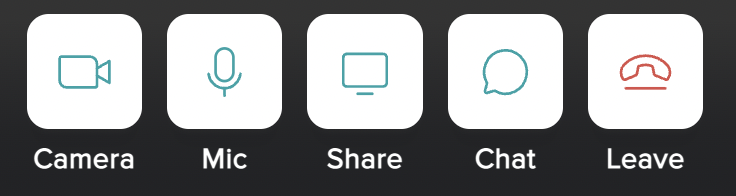
The client will only be able to connect with others in the video session when the hosting clinician has admitted the client to the session. When the session is active, the client will see their therapist on the screen and will have the same options in their actions panel:
- Mute/unmute their microphone
- Turn off/on their webcam
- Hide their inset screen display from view during the call
- Turn on/off screen sharing
- Open Configurations menu
- Remove themselves from the session
Clients will not see the Attendees Access Panel during the sessions. That panel will only be displayed to the hosting clinician.
Comments
Please sign in to leave a comment.